智能路由树莓派再上岗

背景

最近一阵发现在Windows机器上采用廉价网卡B-LINK BL-LW05-5R2分享热点的形式越发的不稳定了:

  • 在长时间没有连接的情况下热点经常会自动关闭(最近因为yq缘故大家坐的比较开,类似现象就更明显了)
  • 之前找到Windows上的dhcp服务器也不是太稳定,时不时会出现无线信号正常,但是无法获取ip地址的情况,需要重新配置启动服务

之前偶尔出现还能忍忍,不过最近已经频繁到有些影响工作效率了,于是就动了入手个路由器的想法。

不过网上一搜,最便宜、号称电子垃圾的腾达 F3都要39¥了,然后没苏宁会员还不包邮……

想着既然都要花钱了,干脆就整个好点儿的吧,又盯上了最近比较火的华为AX3丐版,不过无奈处于预定状态还有一周多才能发货……

OpenWrt

然后突然想起来,抽屉里不是还躺着个前一阵被替换下来吃灰的树莓派嘛,一搜还有官方OpenWrt镜像支持,于是说干就干。

镜像刷入

树莓派最大的特点就是镜像刷入简单,首先在OpenWrt的官网找到对应型号的镜像下载

OpenWrt

解压用使用Etcher写入镜像文件至tf卡

启动配置

将tf卡插入树莓派,然后用网线将电脑跟树莓派进行连接,接着就可以通过 http://192.168.1.1 进入管理设置界面了

管理员密码设置

默认的密码为空,可以根据首次进入时的引导进行初始密码设置

OpenWrt

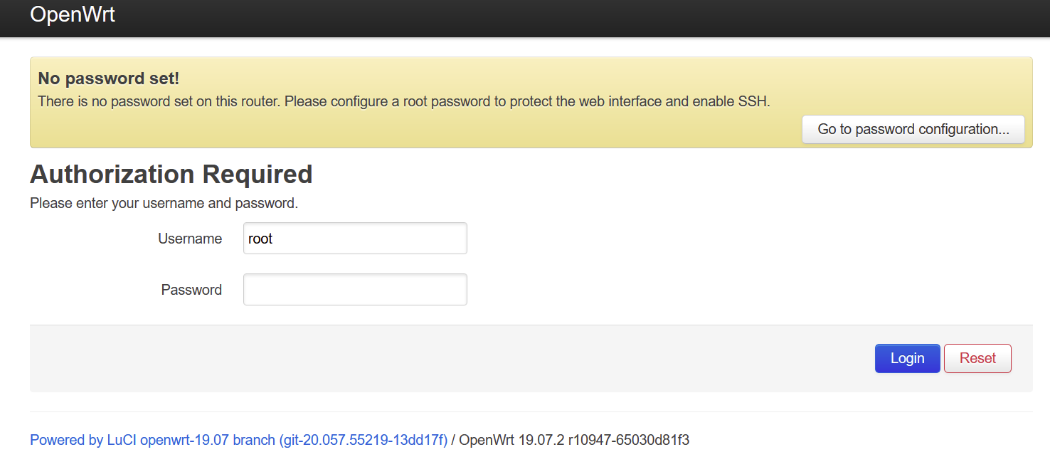
密码设置好后,就可以通过ssh进行登录了,用户名是root,密码就是刚刚设置的

外网连接

在 Network –> wireless 中扫描本地的无线路由信号,选择自己能够上网的无线信息进行连接

OpenWrt

根据提示完成配置后,在ssh下可以通过ifconfig/ping查看联网状态

OpenWrt

root分区扩容

1
2
3
4
5
6
root@OpenWrt:~# df -h
Filesystem Size Used Available Use% Mounted on
/dev/root 252.0M 14.0M 232.9M 6% /
tmpfs 461.6M 68.0K 461.5M 0% /tmp
/dev/mmcblk0p1 19.9M 14.5M 5.4M 73% /boot
tmpfs 512.0K 0 512.0K 0% /dev

不管使用的tf卡容量是多大,镜像在初始化的时候都只会分配252m的根分区容量,所以需要进行分区调整

不过因为文件系统正在使用,所以这个操作无法在树莓派上通过ssh完成,需要先关机后拔下tf卡,插入另一台Linux操作

为了方便,可以通过VirtualBox安装一台Ubuntu的虚拟机来完成

首先用fdisk命令找出读卡器的盘符

1
2
3
4
5
6
7
8
9
10
11
12
13
14
15
16
17
18
19
root@ubuntu18:~# fdisk -l
....
Disk /dev/sdb: 3.7 GiB, 3973054464 bytes, 7759872 sectors

Units: sectors of 1 * 512 = 512 bytes

Sector size (logical/physical): 512 bytes / 512 bytes

I/O size (minimum/optimal): 512 bytes / 512 bytes

Disklabel type: dos

Disk identifier: 0x5452574f

Device Boot Start End Sectors Size Id Type

/dev/sdb1 * 8192 49151 40960 20M c W95 FAT32 (LBA)

/dev/sdb2 57344 581631 524288 256M 83 Linux

接着调整分区大小

1
2
3
4
5
6
7
8
9
10
11
12
13
14
15
16
17
18
19
20
21
22
23
24
25
26
27
28
29
30
31
32
33
34
35
36
37
38
39
40
41
42
root@ubuntu18:~# fdisk /dev/sdb

Welcome to fdisk (util-linux 2.31.1).
Changes will remain in memory only, until you decide to write them.
Be careful before using the write command.


Command (m for help): p // 查看当前磁盘分区情况
Disk /dev/sdb: 3.7 GiB, 3973054464 bytes, 7759872 sectors
Units: sectors of 1 * 512 = 512 bytes
Sector size (logical/physical): 512 bytes / 512 bytes
I/O size (minimum/optimal): 512 bytes / 512 bytes
Disklabel type: dos
Disk identifier: 0x5452574f

Device Boot Start End Sectors Size Id Type
/dev/sdb1 * 8192 49151 40960 20M c W95 FAT32 (LBA)
/dev/sdb2 57344 581631 524288 256M 83 Linux // 记下这里的分区开始位置,57344

Command (m for help): d // 删除分区
Partition number (1,2, default 2): 2 // 删除第二个分区

Partition 2 has been deleted.

Command (m for help): n // 新建分区
Partition type
p primary (1 primary, 0 extended, 3 free)
e extended (container for logical partitions)
Select (default p): p
Partition number (2-4, default 2): 2 // 指定分区编号
First sector (2048-7759871, default 2048): 57344 // 指定分区开始位置,这里必须跟之前保持一致
Last sector, +sectors or +size{K,M,G,T,P} (57344-7759871, default 7759871): // 分区结束位置,默认为全部可用空间

Created a new partition 2 of type 'Linux' and of size 3.7 GiB.
Partition #2 contains a ext4 signature.

Do you want to remove the signature? [Y]es/[N]o: N // 不修改原有签名

Command (m for help): w // 写入配置

The partition table has been altered.
Syncing disks.

最后生效配置

1
2
3
4
5
6
7
8
9
10
11
12
root@ubuntu18:~# e2fsck -f /dev/sdb2
e2fsck 1.44.1 (24-Mar-2018)
Pass 1: Checking inodes, blocks, and sizes
Pass 2: Checking directory structure
Pass 3: Checking directory connectivity
Pass 4: Checking reference counts
Pass 5: Checking group summary information
/dev/sdb2: 1333/16384 files (0.0% non-contiguous), 4862/65536 blocks
root@ubuntu18:~# resize2fs /dev/sdb2
resize2fs 1.44.1 (24-Mar-2018)
Resizing the filesystem on /dev/sdb2 to 962816 (4k) blocks.
The filesystem on /dev/sdb2 is now 962816 (4k) blocks long.

然后把重新分区的存储卡再插回树莓派开机,可以发现root目前挂在的分区容量已经变成了3.6g

1
2
3
4
5
6
root@OpenWrt:/# df -h
Filesystem Size Used Available Use% Mounted on
/dev/root 3.6G 15.3M 3.6G 0% /
tmpfs 461.6M 76.0K 461.5M 0% /tmp
/dev/mmcblk0p1 19.9M 14.5M 5.4M 73% /boot
tmpfs 512.0K 0 512.0K 0% /dev

软件安装

类似与Ubuntu的apt命令,OpenWrt下的包管理命令是opkg,使用 opkg update && opkg install xxx 就可以方便快捷的完成对应软件的安装了

对于能够支持的软件列表可以在官方站点进行查看